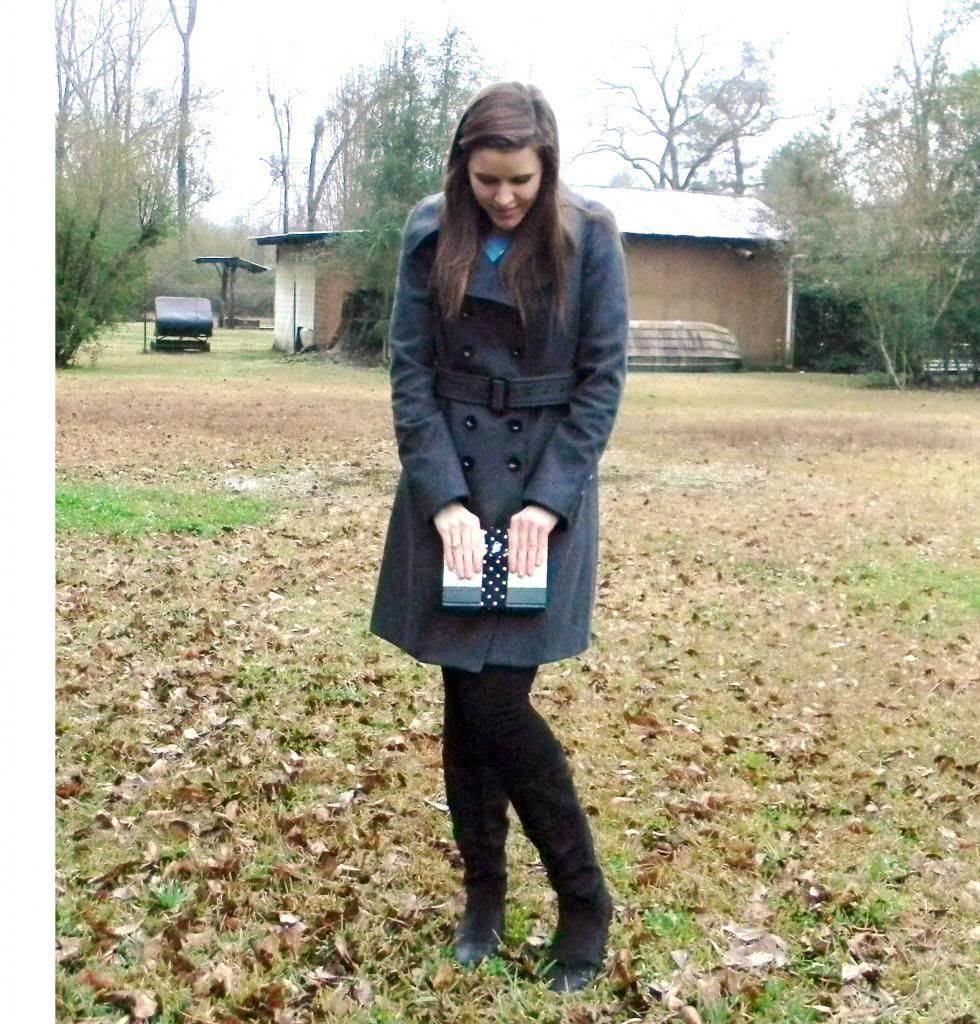
While shopping at a flea market the other day, I stumbled across some beautifully decorated hard cover books (reader's digest) for $1 a piece! I immediately thought back to the book clutch project that was on my "To Do" list, so I purchased 4 of them.
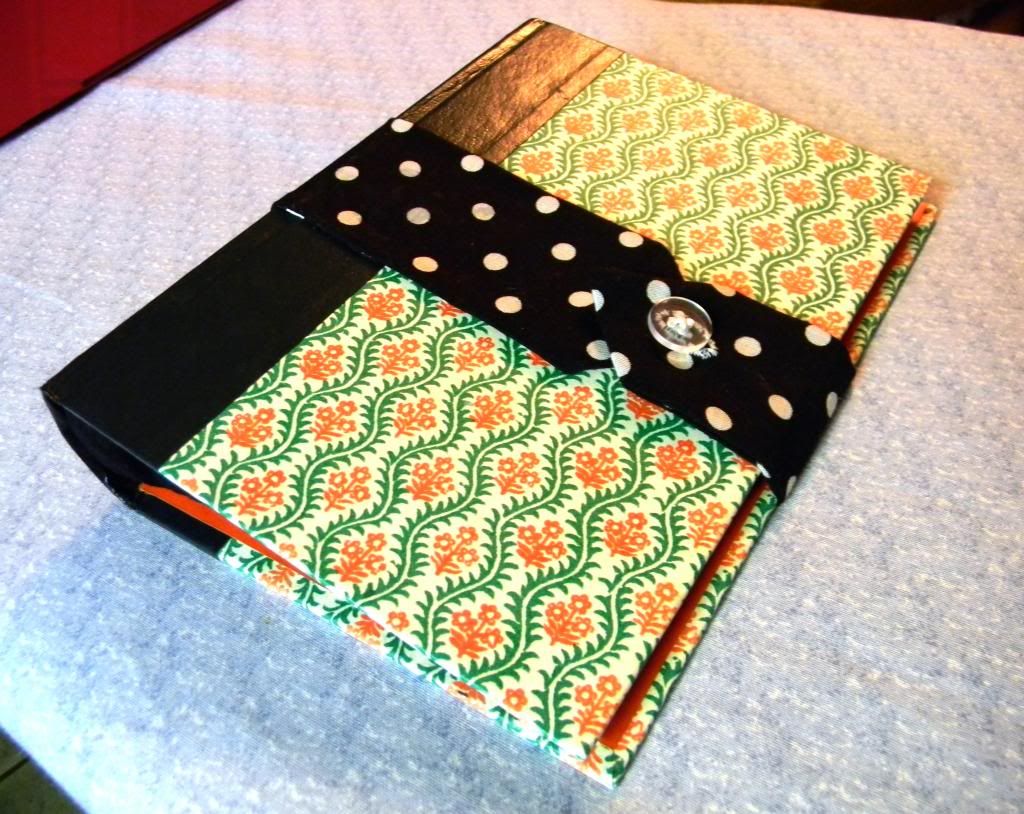
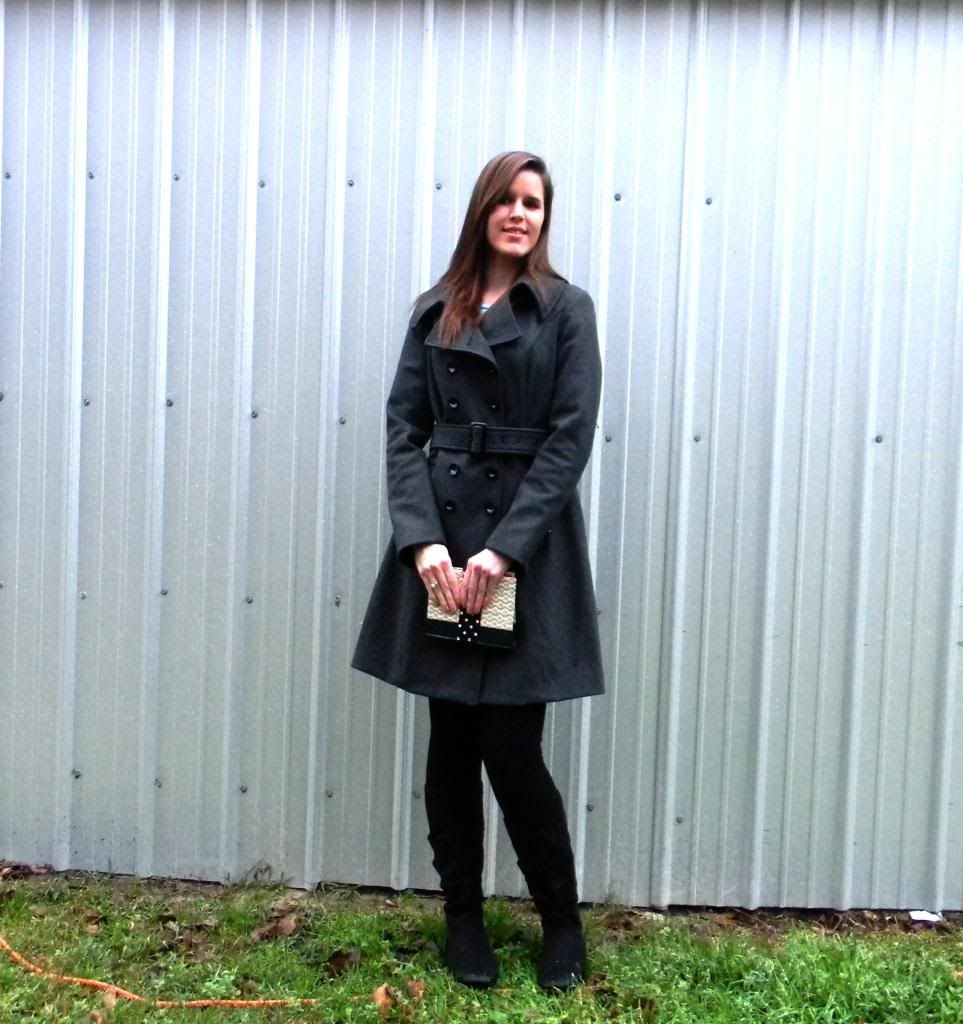
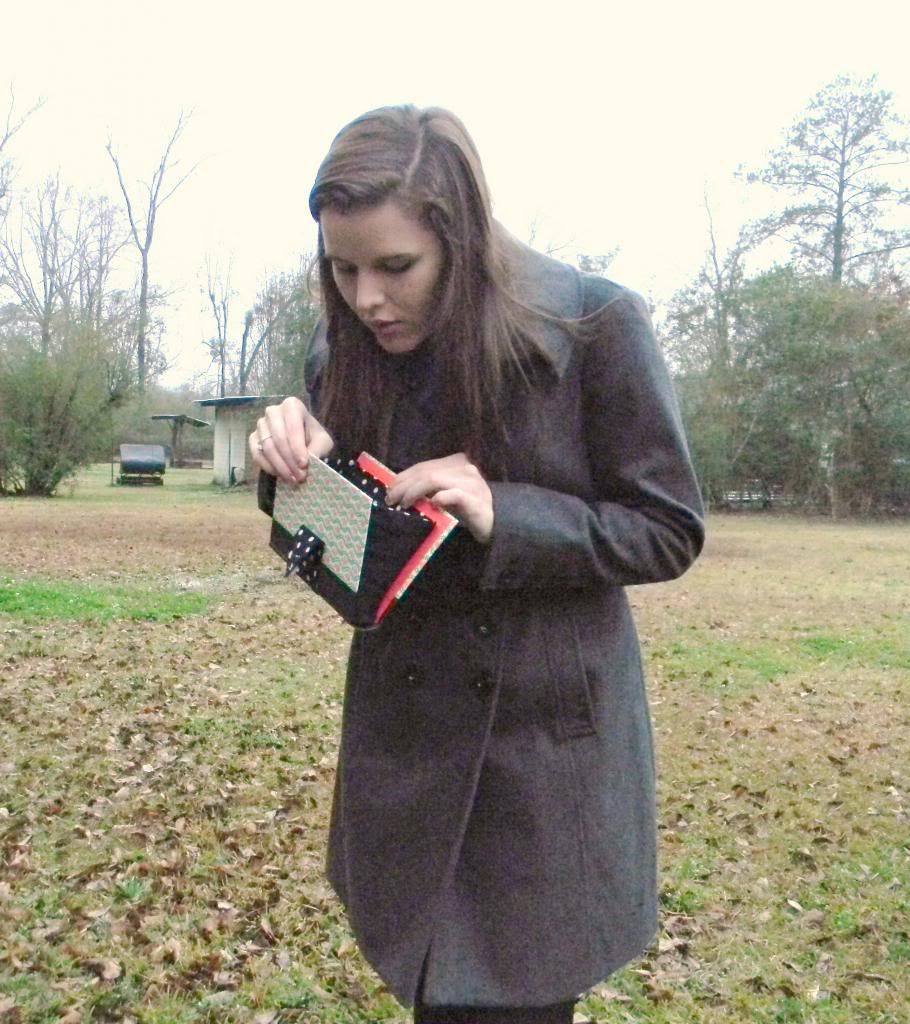
Isn't it cute! I'm a book worm so this matches my nerdiness.
I wasn't planning on doing a tutorial, but right when I started the project I decided to photograph it step by step (or try to, at least). I've never done a tutorial this elaborate before, and now I'm thinking it's going to be a handful. If something seems complicated to understand it's probably just my wording, because this project is super easy and fun. You just need basic sewing and measuring skills.
Ok, let's get started..
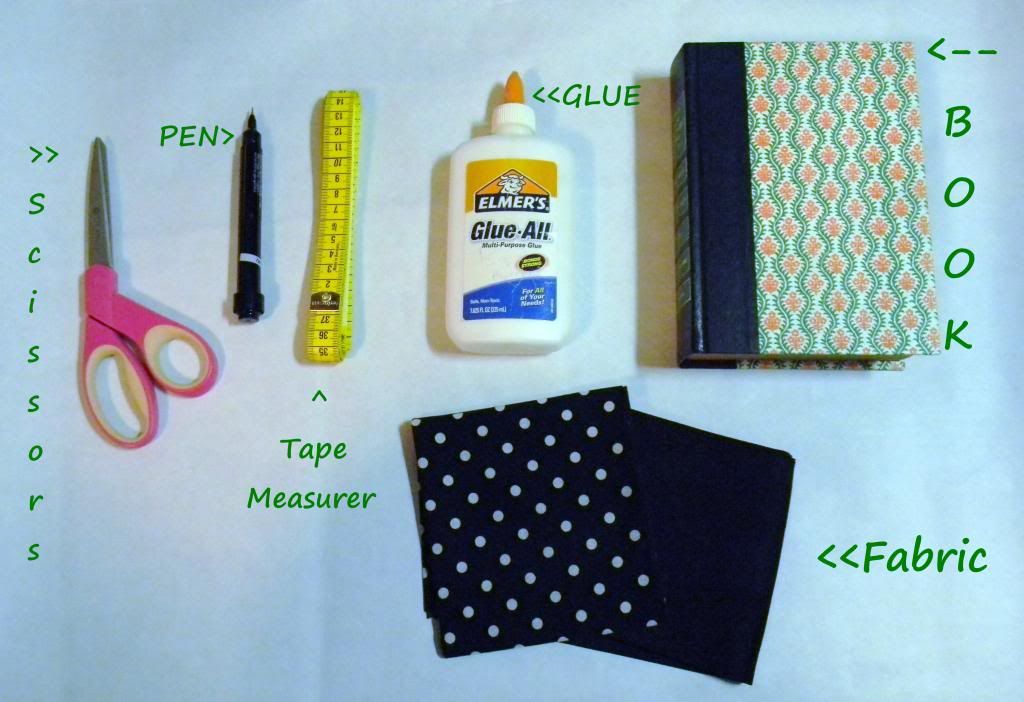
~xacto knife
~needle/thread or sewing machine
~button
~wax paper or newspaper
~scissors
~pen
~tape measurer
~glue
~fabric
~hardcover book
~paintbrush
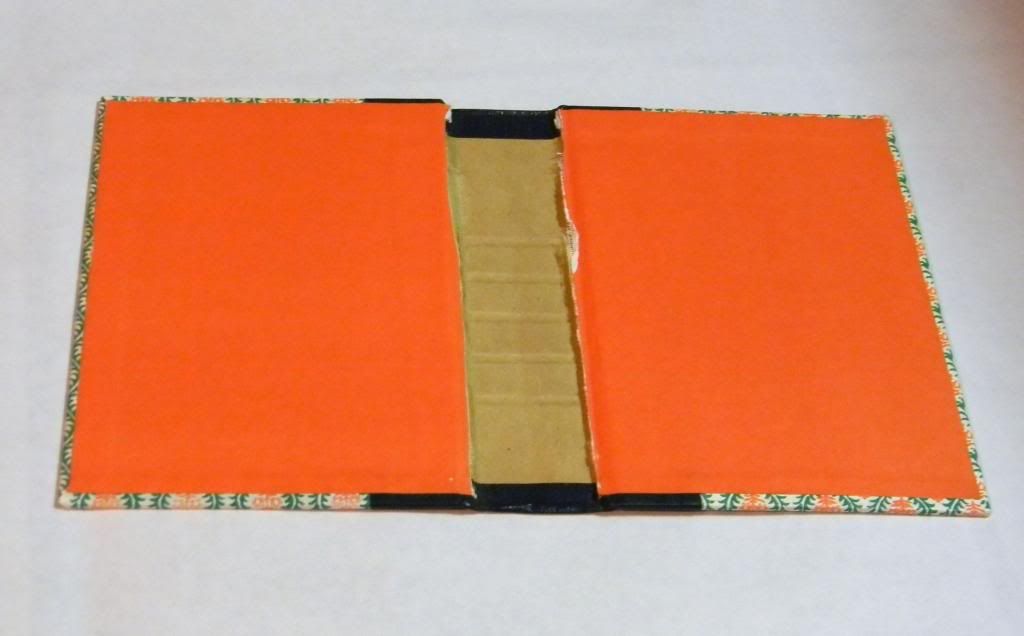
Step 1: Using the x-acto knife, carfully cut the pages away from the book. Don't press too hard, or you may cut through the spine! *I know, this is the hardest part! You can always keep the pages and still read it, or you can upcylce the pages and make a new project with it. I may need to head over to pinterest to check that out when I'm finished here! ;)
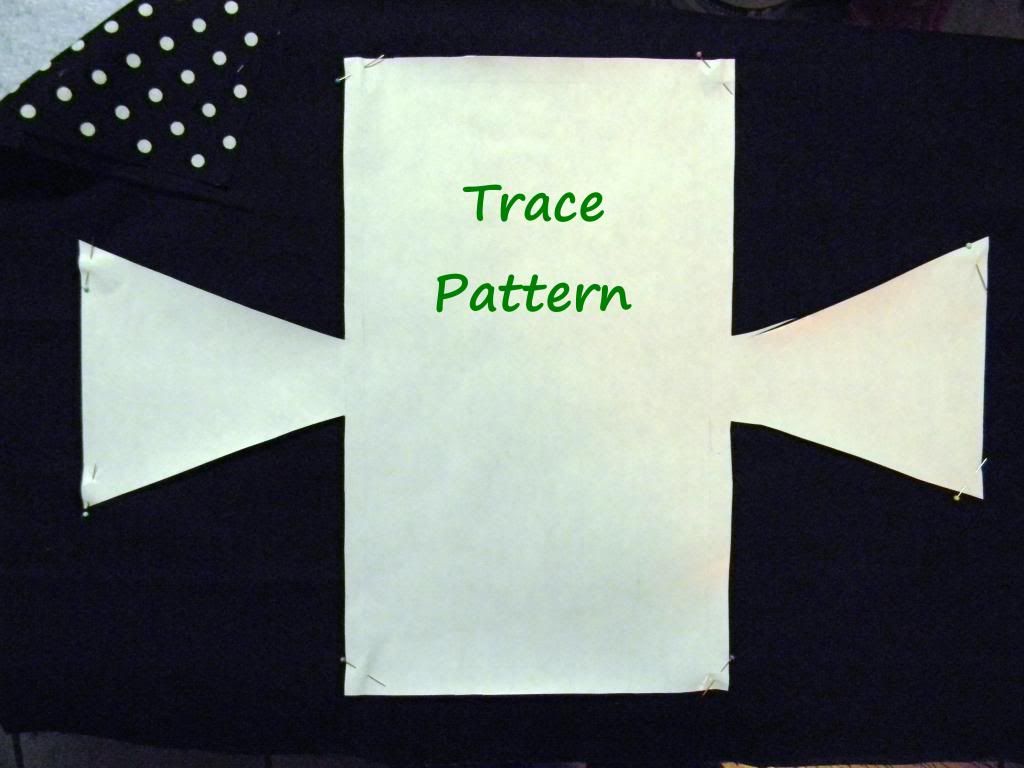
Step 3: Take your lining fabric and your outer fabric and place them on top of each other. (My lining is the polka-dots and my outer color is black.) Place your pattern on top of the fabrics and pin it to them in each of the corners. Cut the fabric out along the pattern line.
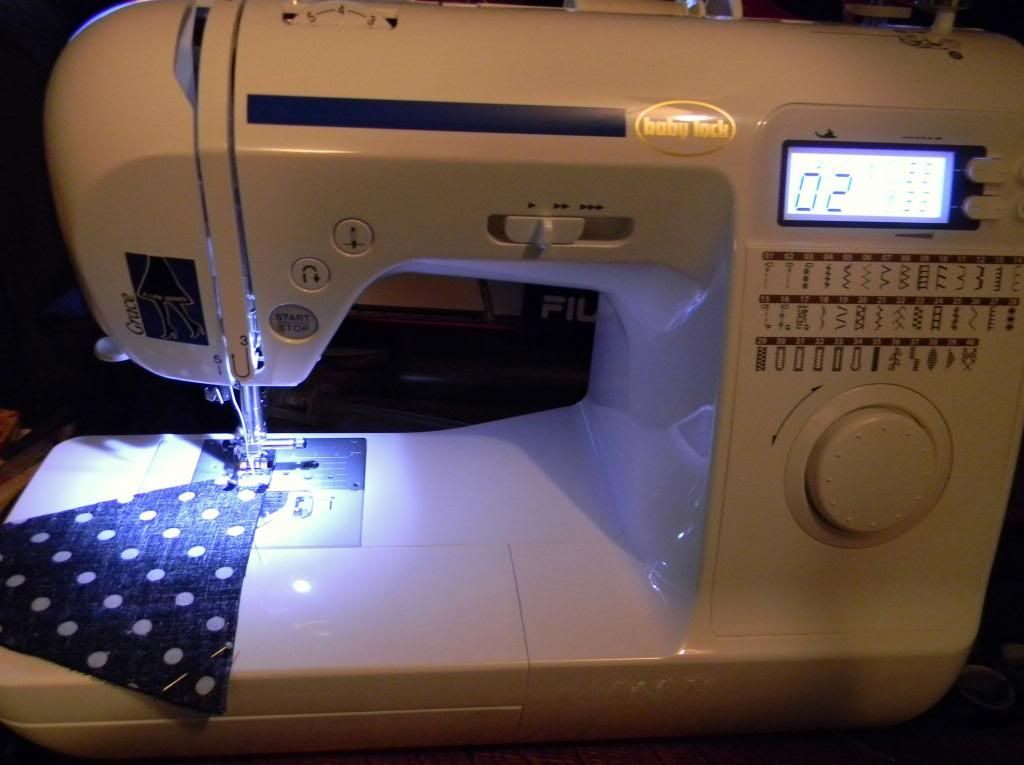
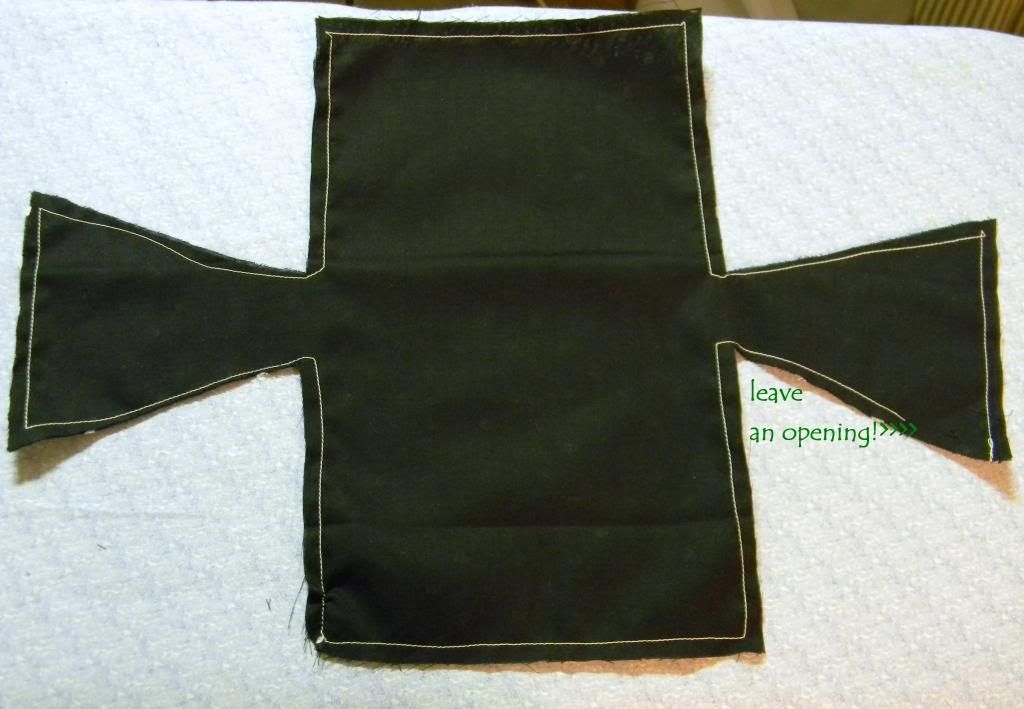
Step 4: Place the fabrics together RIGHT SIDES FACING. Pin each corner. For this part, you can stitch by hand, but I decided to use my sewing machine because it's quicker. Plus, I just got this BabyLock Grace sewing machine for Christmas from my lovely grandmother. She believes in my lust to craft! :) Now, sew all the way along all the edges as close as you can to the edge. IMPORTANT: Leave an inch or two opening so you can pull the fabric through so the right side can be facing out.
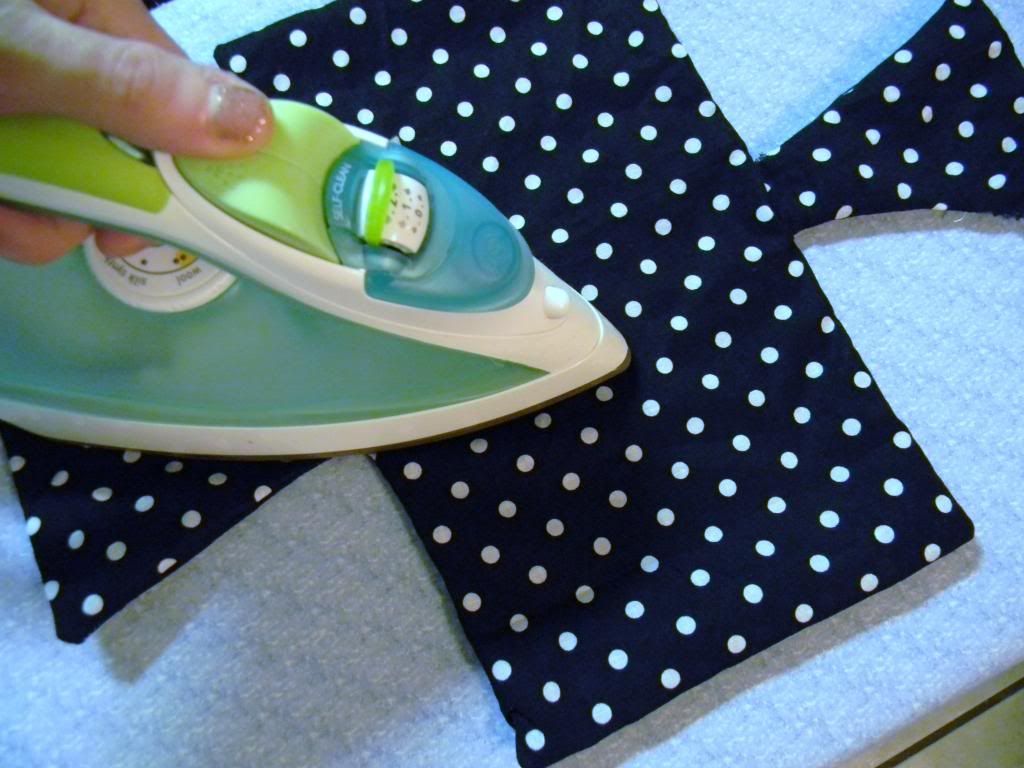
Step 5: Once you've flipped the right sides out, take a pencil or a long slender object and poke it inside the opening so you can push all the corners out. Iron the fabric.
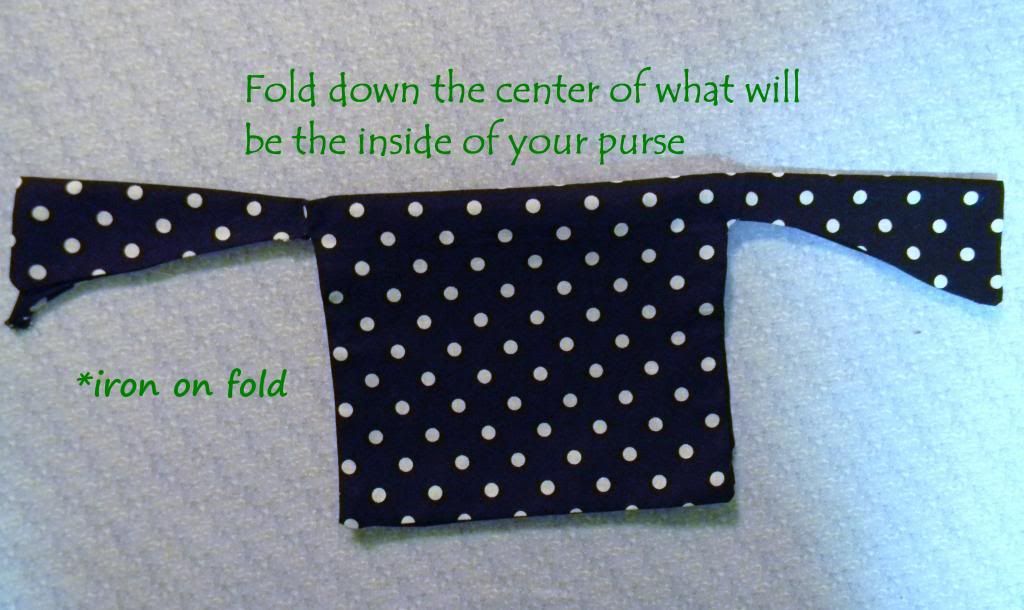
Step 6: Fold the fabric down the center. The inside fabric, or the lining, should be facing outward. Iron on the fold to make a hard crease. (ONLY on the two "triangles."
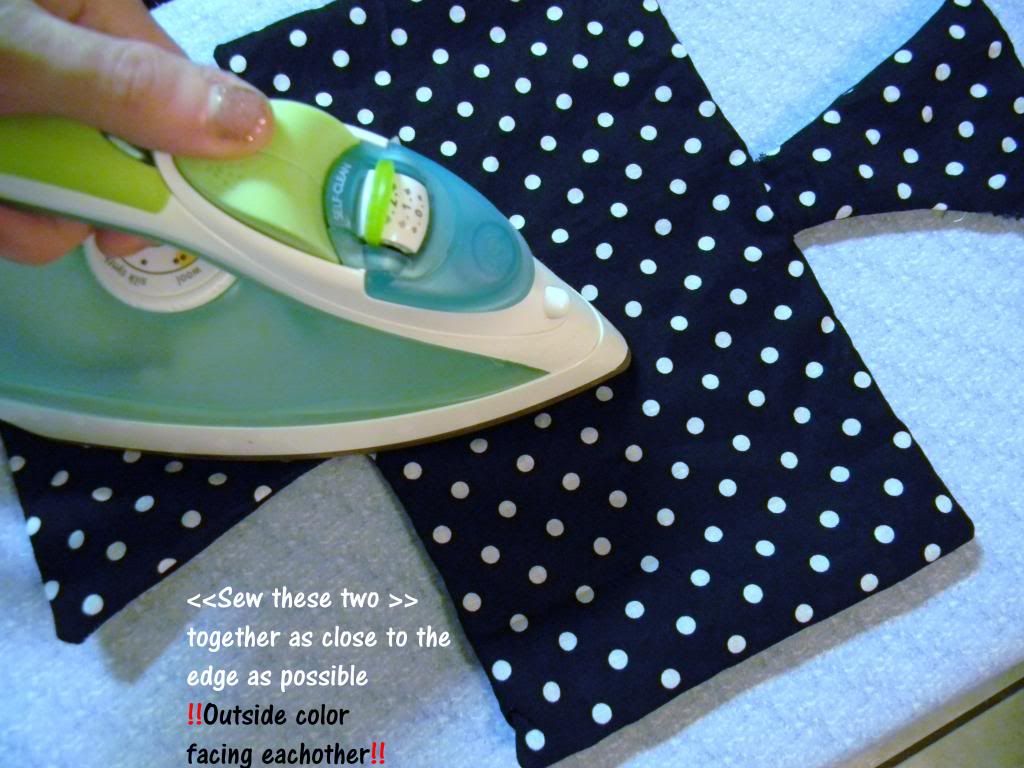
Step 7: I didn't take a picture of this part either.. So I'm reusing this image so you can better understand this part! Sew each edge together !!OUTER FABRICS FACING EACH OTHER!! Sew as close as you can to the edge.
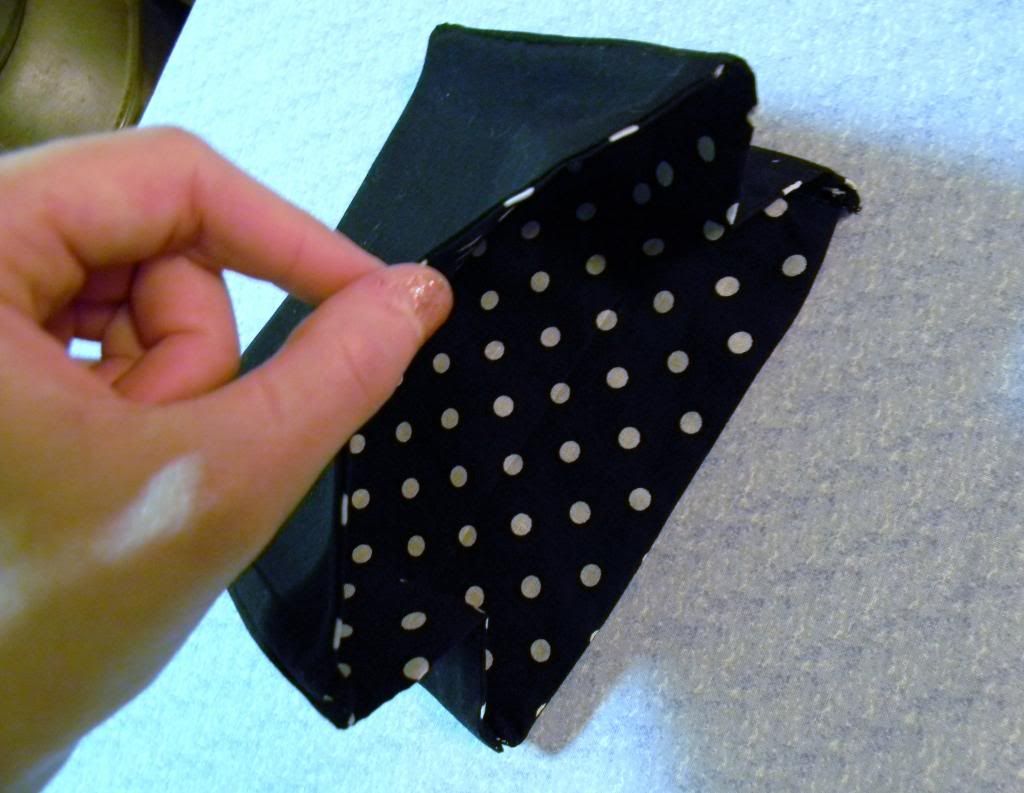
When all four edges are sewed together, flip the pouch inside out. It should look like the image below.
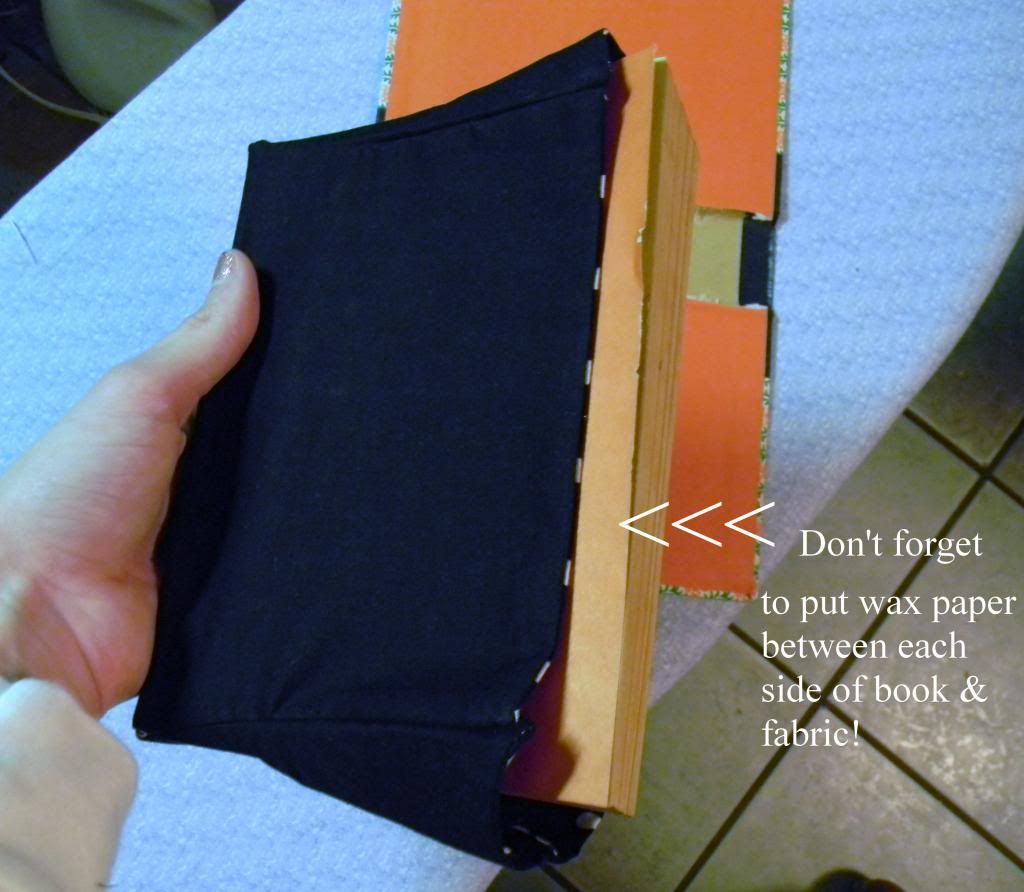
Step 8: Place the pages you cut out of the book (they should all be stuck together still, if you cut it right) inside the pouch. It may be a tight squeeze. !NOTE!: I didn't use wax paper for this part, but I HIGHLY recommend it! Place wax paper in between the book pages and the pouch, to prevent the paper from bleeding or sticking to the pouch.
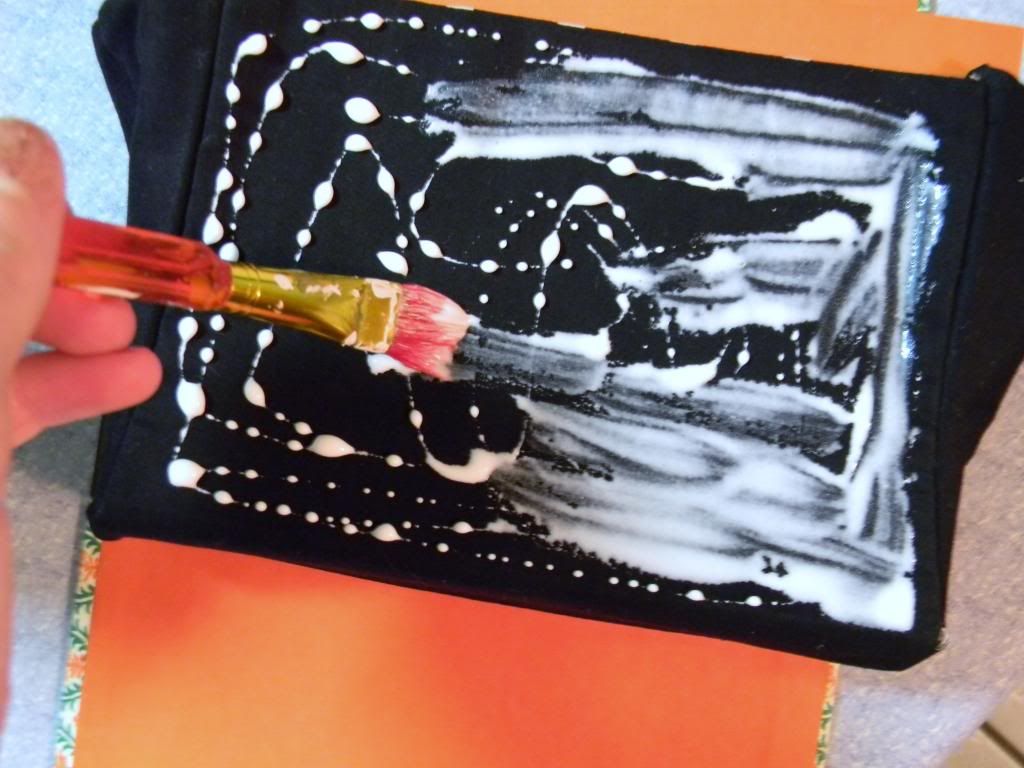
Step 8: From most of the tutorials I've read, they use regular Elmer's glue. (Don't use school glue, as it can come off if wet). You can also use mod podge or some other glues. Anyways, pour glue on the outside of the pouch (NOT on the flaps) and spread it evenly around.
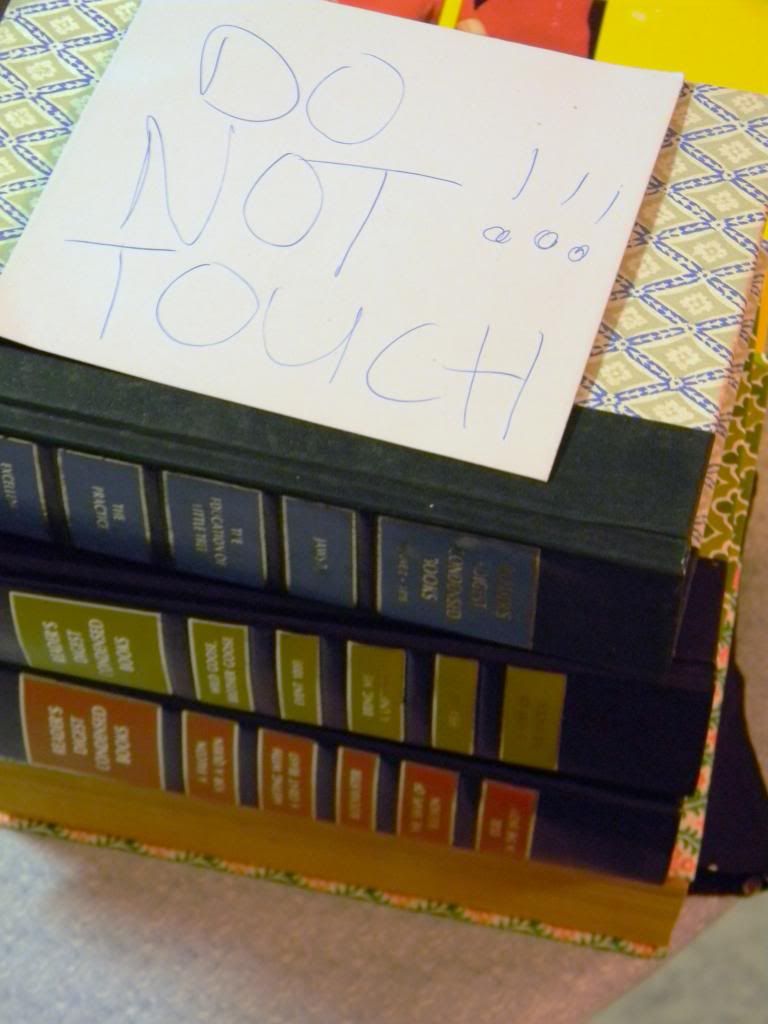
Step 9: Place your book cover carefully and evenly onto the pouch. Make sure it's smooth so there are no lumps. Place something heavy on top of it so the glue sticks nice and tight. I placed my other flea market books on top of it and put a "Do Not Touch" sign on it so the rest of the lovely fam knows, well, not to touch! :D
*There are several different ways you can make a clasp for your clutch, but I decided to do it this way.
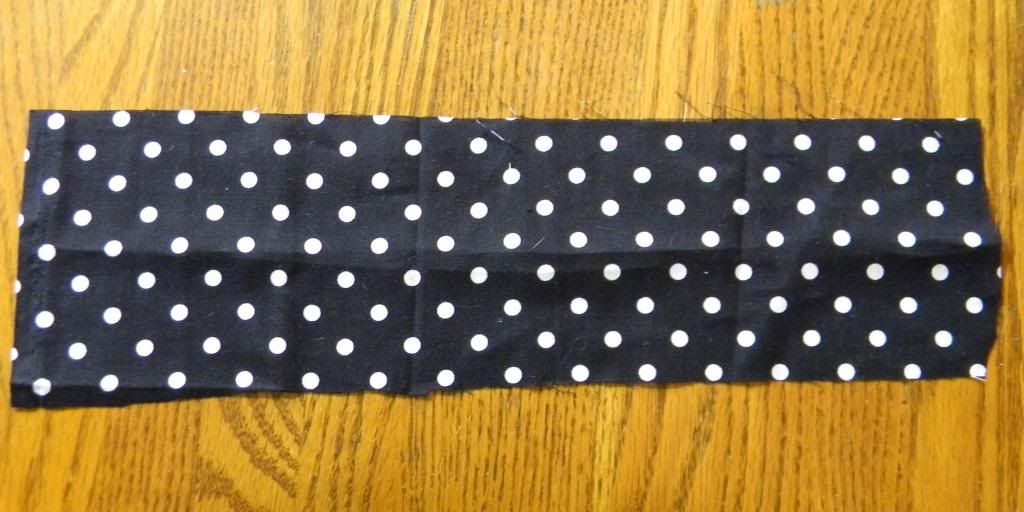
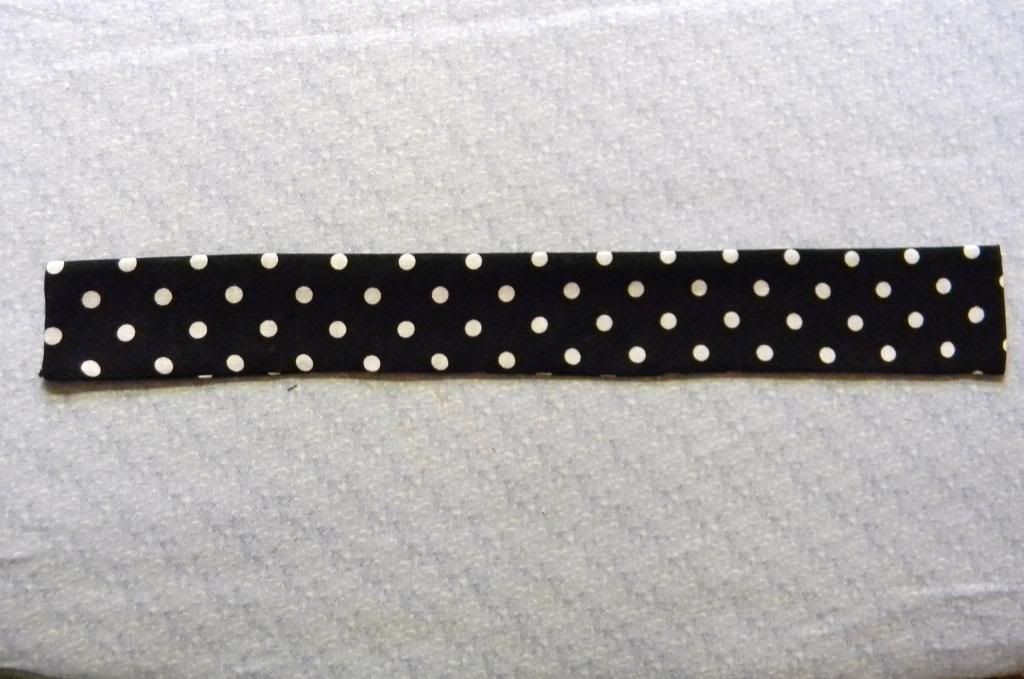
Take a strip of your scrap fabric and measure it around your clutch (once it's dried, of course).
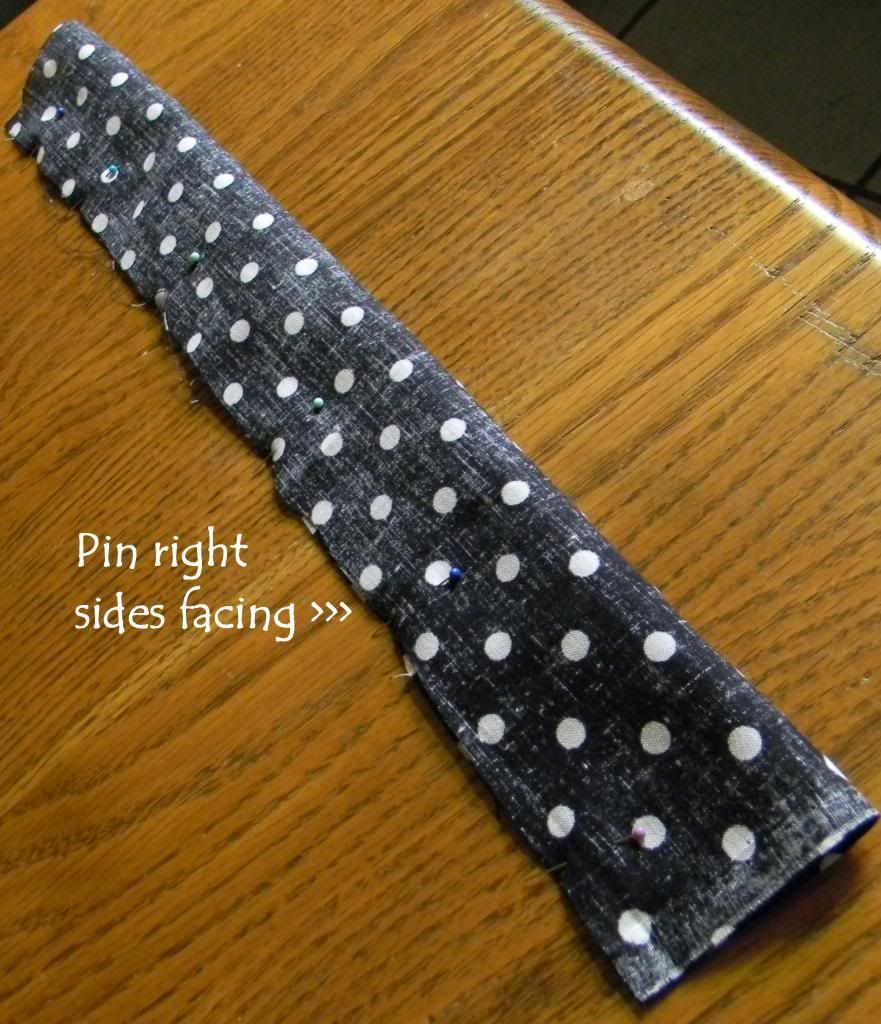
Fold the fabric in half long ways, pin it right sides facing.
Sew as close to the edges as possible, leaving one of the edges open!
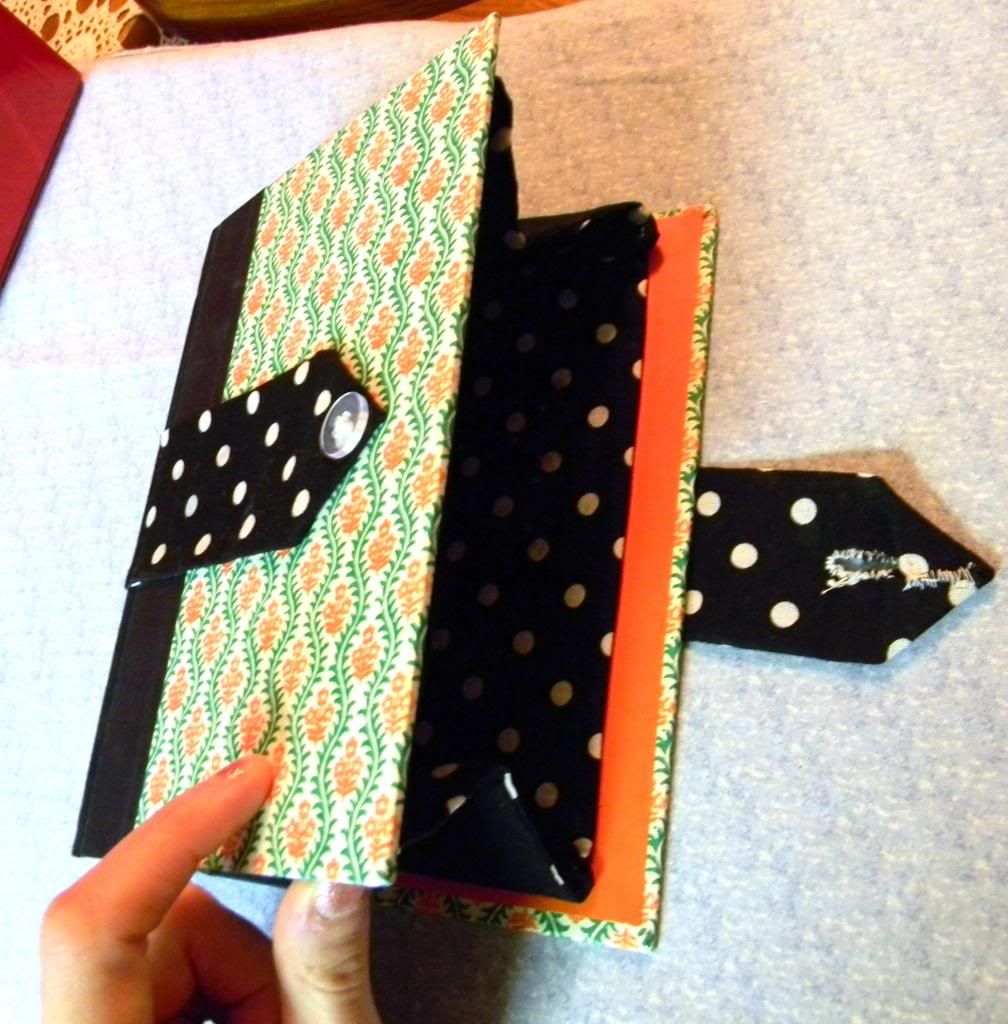
I didn't take a picture of this part either, but I made a point on each end (optional) and a made a button hole and sewed on a button (that part takes simple measuring). Glue the strip around the clutch and let it dry. VIOLA! You have a NERDY BOOK CLUTCH!
Please let me know if you have any questions on this! Also, let me know your opinions on it! If you have advice for me, you are welcome to fill me in! This is my first time to make one, and tips would be helpful! Take care everyone!
~Shannah~



I love this! I've never even thought about doing it, but I do love clutches, and this doesn't seem hard at all. I just need to learn to sew...haha.
ReplyDeleteSo cute!! Are you going to start selling them?
ReplyDeleteI can't believe you made that-so cute! I've tried a few at home self tanners-but I recently got a professional spray tan & it came out awesome!
ReplyDeleteOh, YAY!! I love this book clutch DIY. I'm a nerd too, and we might as well be chic nerds!! ;)
ReplyDeleteThe fabric detail on the outside of the clutch is such a nice touch.
Love it! I can't sew though, so no chance of me starting :P
ReplyDeleteThis is such a great idea. It looks wonderful.
ReplyDeleteCool! Ik heb ook zo eentje gemaakt; zal ik binnenkort eens op mijn blog plaatsen. Ik volg je! :) Liefs
ReplyDeleteOh, so sorry! I thought you were Dutch. I was saying that I really love the clutch you made. I made one myself a while ago; I might post some pictures of it on my blog soon. I follow you. :) xx
DeleteWow, that's such a fantastic idea! Great job :-) ♥
ReplyDelete