~~~~~~~~~~~~~~~~~~~~~~~~~~~~~~~~~~~~~~~~~~~~~~~~~~~~~~~~~~~~~
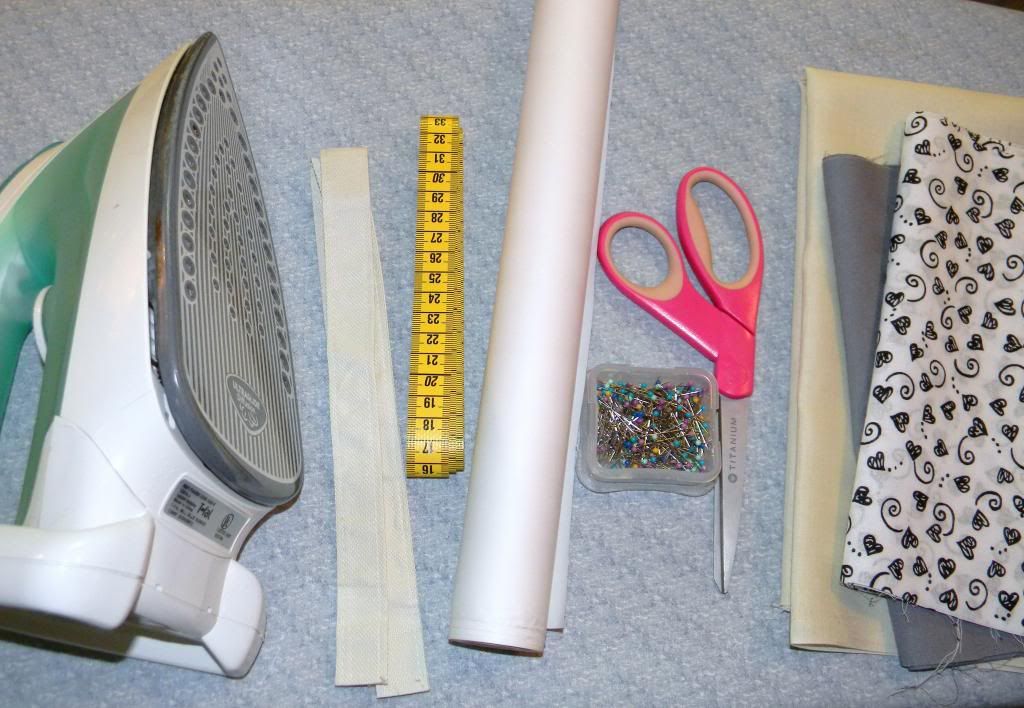
Thins You Will Need:
~Fabric in two colors, and lining fabric
~scissors
~pins
~Tape Measurer
~baking paper or newspaper
~Straps for purse
~Iron
LET'S GET STARTED!
Step 1.
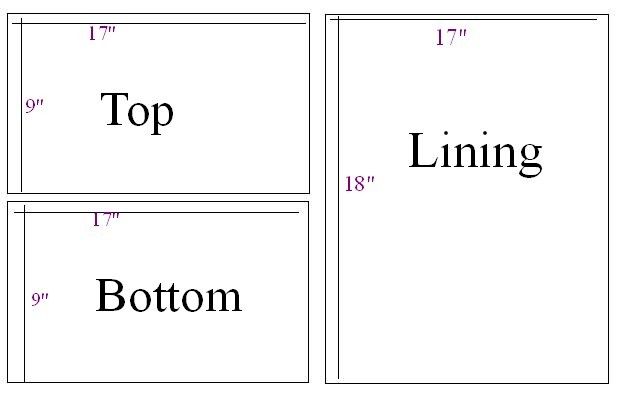
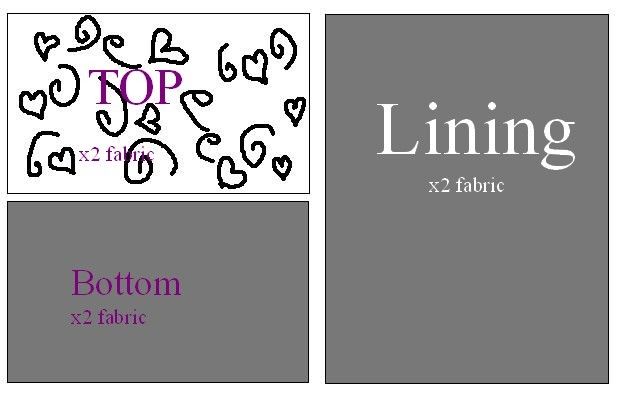
We’re going to make the pattern from scratch using the baking paper
(or newspaper). Here are the pieces you’ll need to cut/fold from your
paper:
Measure out each piece on your baking paper, cut or fold to size
and tape down any excess. These pattern pieces already
include a 5/8” seam allowance (1.5cm).
Note: You will make 2 of each pattern.
Step 2.
Fold the fabric you want to use on the TOP in half, and pin the TOP
pattern piece through both layers. Cut out. Do the same with both the
BOTTOM pattern, and the LINING.
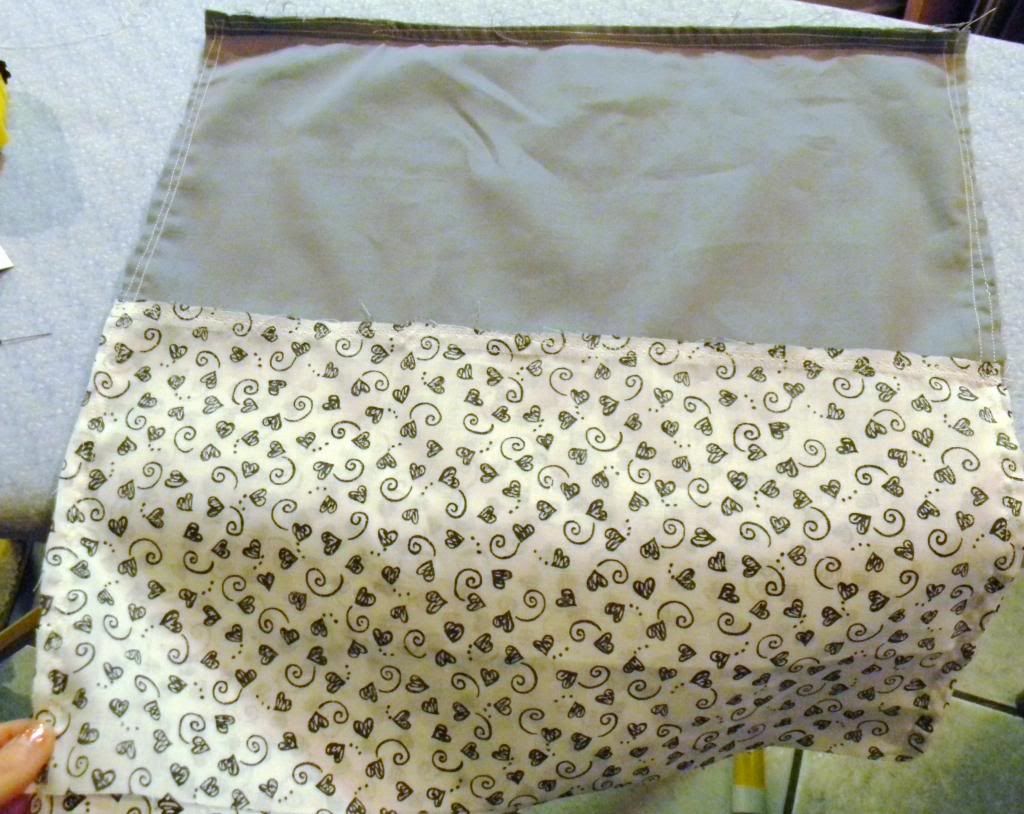
Now, here is what you should have:
Step 3.
Put one TOP piece and one BOTTOM piece with right sides together, lining up one of the long edges. Pin and sew that edge. Repeat Step 3 with the other TOP and BOTTOM piece.
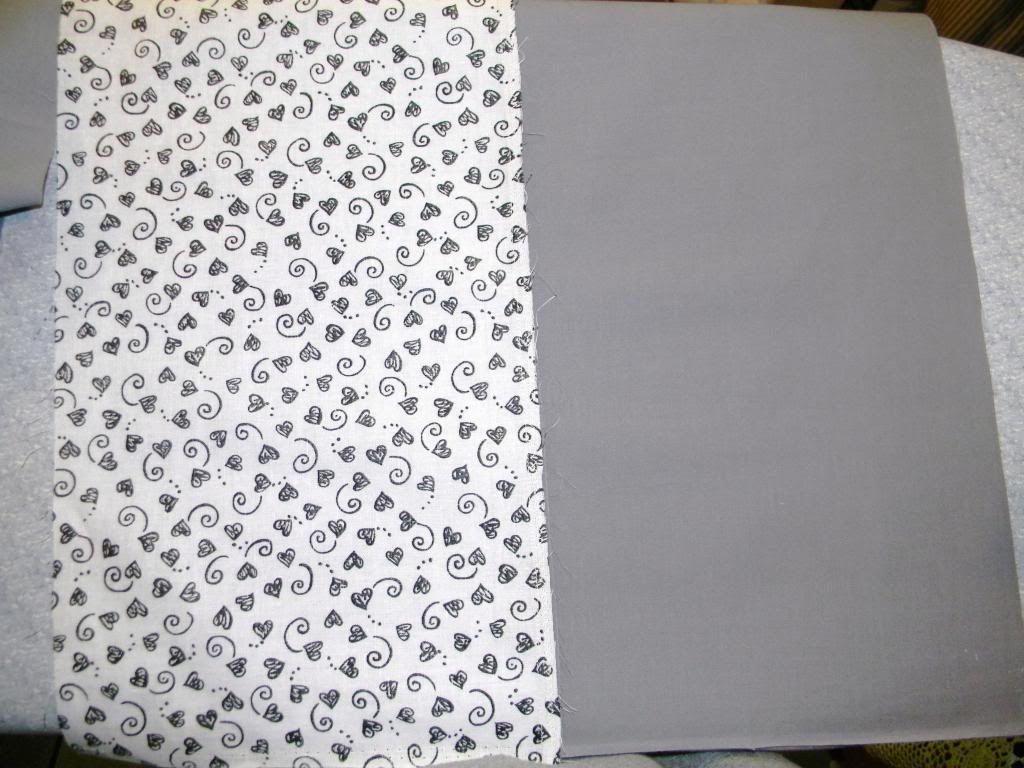 |
| underneath |
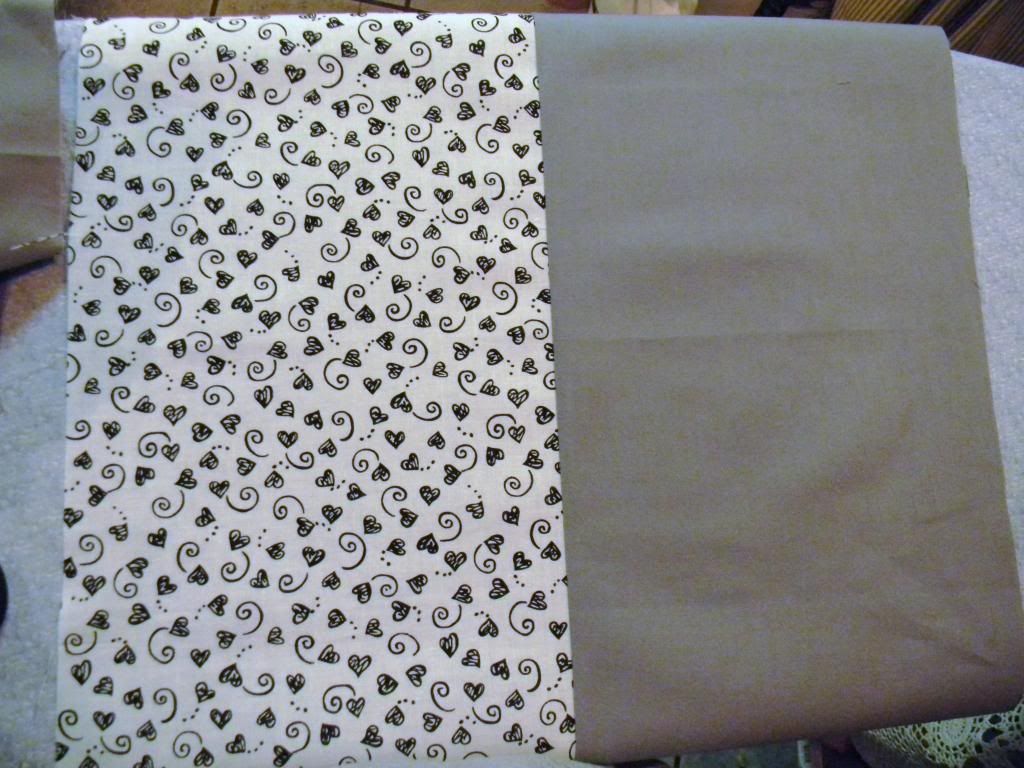 |
| right side |
Step 4.
Now you should have two large rectangles. Place them on top of each
other, right sides together. Pin and sew the bottom seam of your bag. Now pin and sew each side seam,
going from the bottom of the bag to the top.
Step 5.
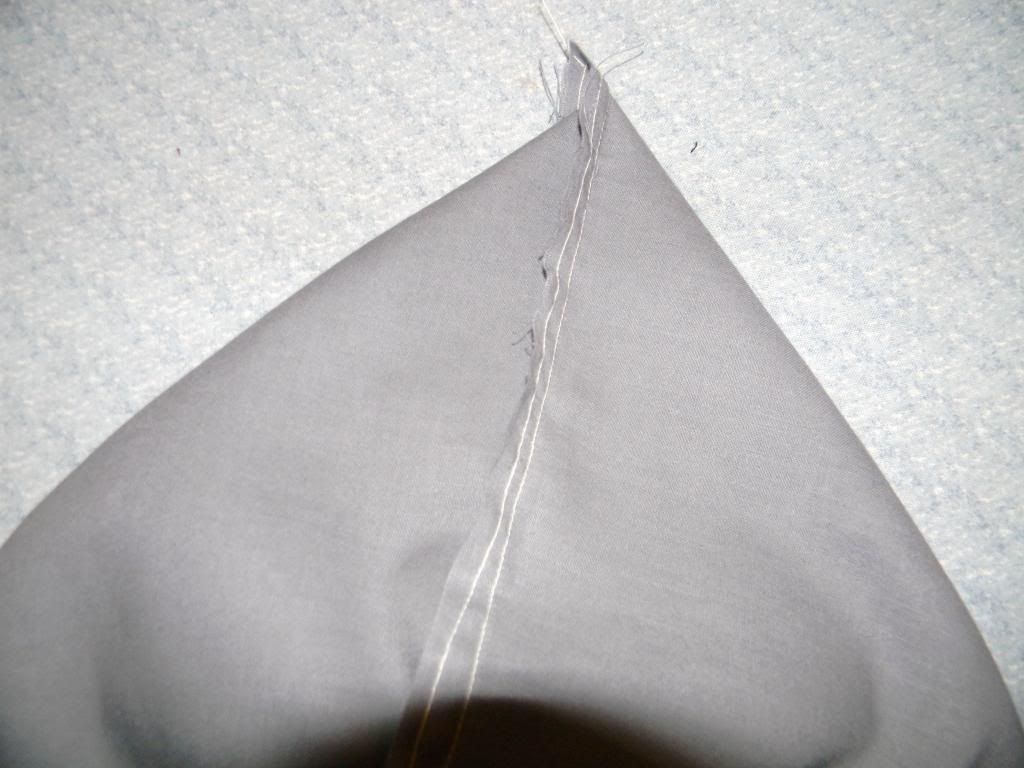
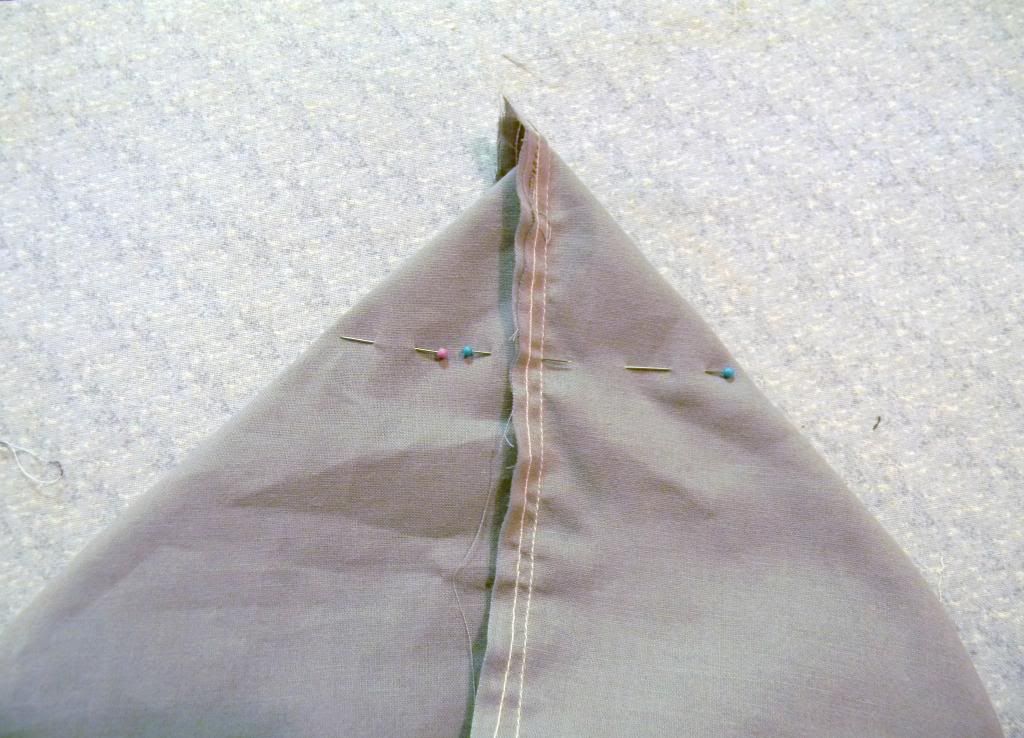
Next, we’re going to do the box corners. With one hand on the inside of your bag, and one on the outside, find one of the bottom corners of your bag. Squash it down so that the side seam, and bottom seam are in line, and pin it so it goes through both seams
Once it’s pinned, measure approximately 2” from the point down
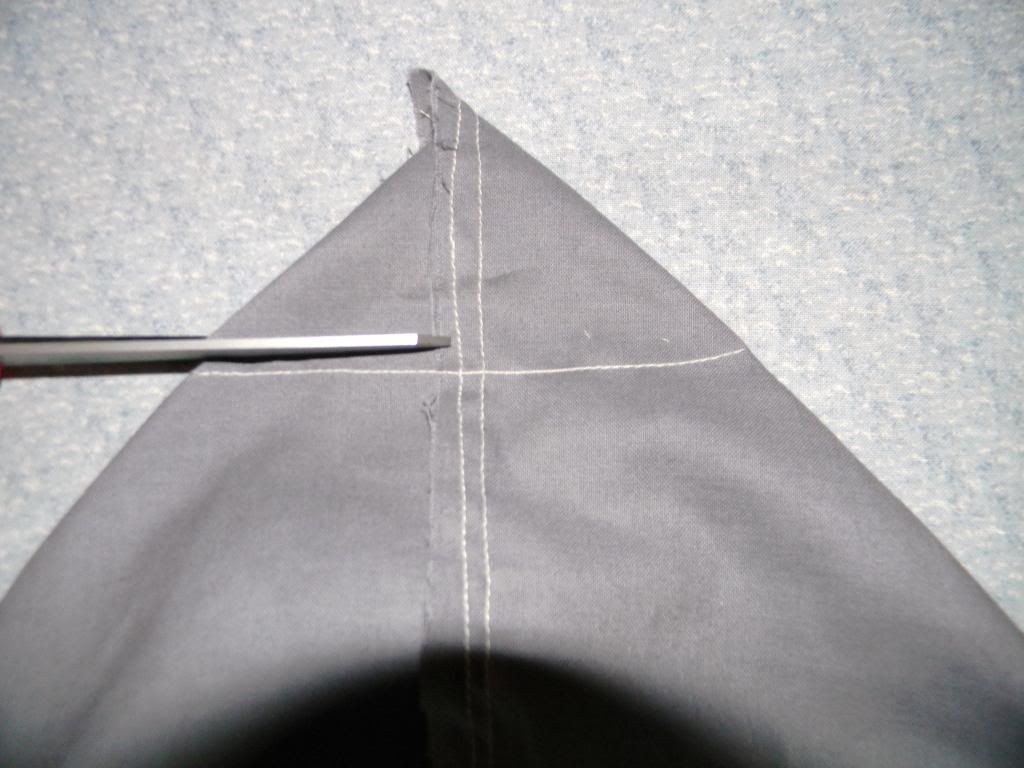
the length of the seam, and mark the spot with your pins or a fabric pencil. Using your ruler, find the spot you marked and
line up your ruler on it perpendicular to the seam. Draw a line across
your fabric. Pin along that line to hold it in place. Do this with both
corners of your bag. At this point I like to turn the bag right side out
to make sure I’m happy with the depth of my corners. If you aren’t,
increase or decrease the size and try again. If you are happy with them,
turn the bag inside out again and sew straight along the line you just
drew on each corner.
Cut the corner off, approximately 1/2” from the seam.
Step 6.
Repeat Steps 4 and 5 with your lining fabric.
Step 7.
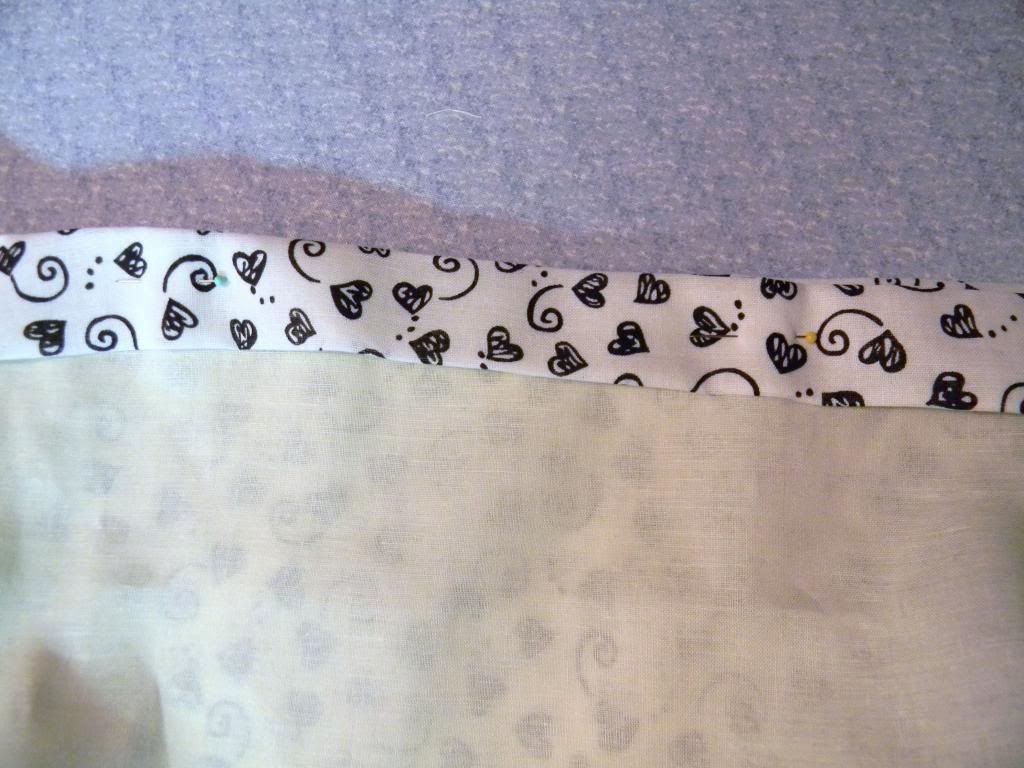
With the outer bag inside-out, and the lining right-side-out, put
the outer bag inside the lining bag. Line up the top edge and side
seams. Fold and pin the top edge down 1”, iron. Remove the pins and fold
over again 1”.. pin and iron. Sew keeping close to the bottom edge of
the hem.
Step 8.
Turn your bag right-side-out. Take the straps you chose for your purse and cut
two pieces at your desired handle length. I sealed each
cut end with some clear nail polish to stop it from fraying. Use your ruler and dressmakers pencil to measure and mark where you want
your handles to be on each side. Pin the handles in position and sew
around the base of each one, keeping close to the edge. I sewed over
mine twice to make them stronger.
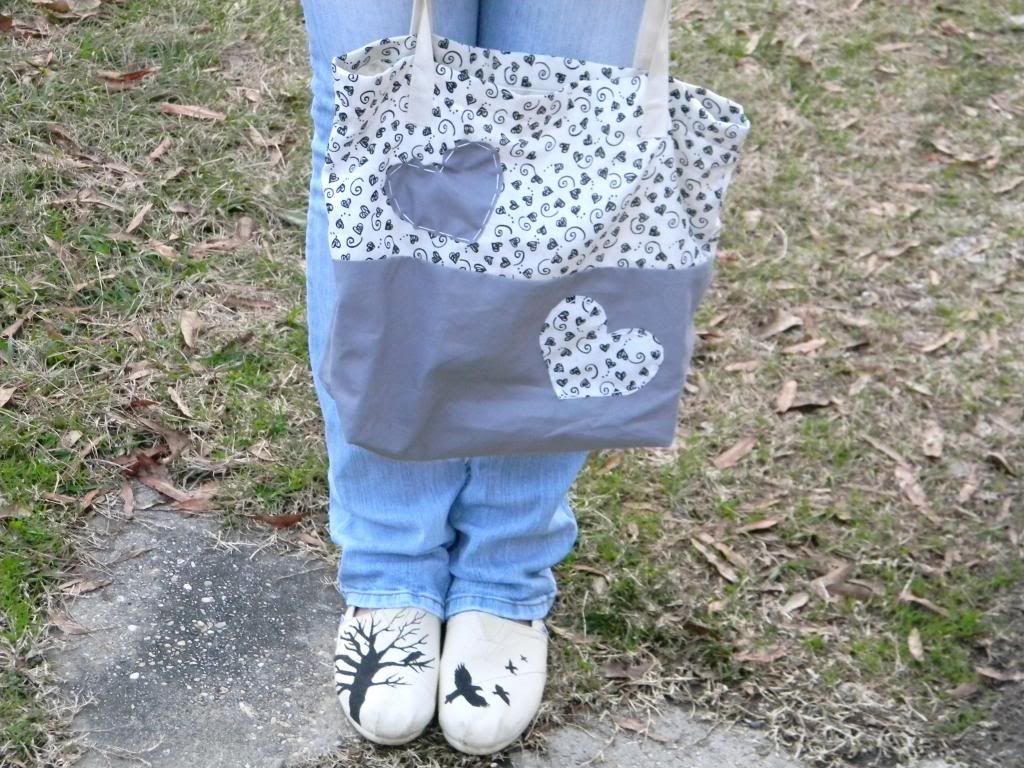
The patch work is easy enough. I just cut hearts out of my scrap fabric and pinned them where I wanted them and stitched them on by hand. I made the stitched slightly bigger to make it look like pretty patchwork.
The patch work is easy enough. I just cut hearts out of my scrap fabric and pinned them where I wanted them and stitched them on by hand. I made the stitched slightly bigger to make it look like pretty patchwork.
And there it is! One pretty tote bag to carry things in maybe to go to the beach of for a purse, which is what I'm using mine as. :)
~Shannah Renee


How fun! I love how the two sides are opposites. Darling!
ReplyDeleteCool idea girl!
ReplyDeleteWant to follow each other? :)
Love,
Amélie
http://bagsandchocolate.blogspot.be/
Oh, this is fantastic. I just got a sewing machine for Christmas and this looks like a simple enough project for me to tackle. :)
ReplyDelete